
/pay/…. It is built for a phone screen, carries your store’s branding, and asks for nothing the link did not require.
The Checkout Page
At the top: your store’s logo and name, the Image if you added one, the Title, the Description shown to the customer and, if set, the Reference. Colours and fonts follow the branding of the store the link belongs to, the same as your online ordering pages.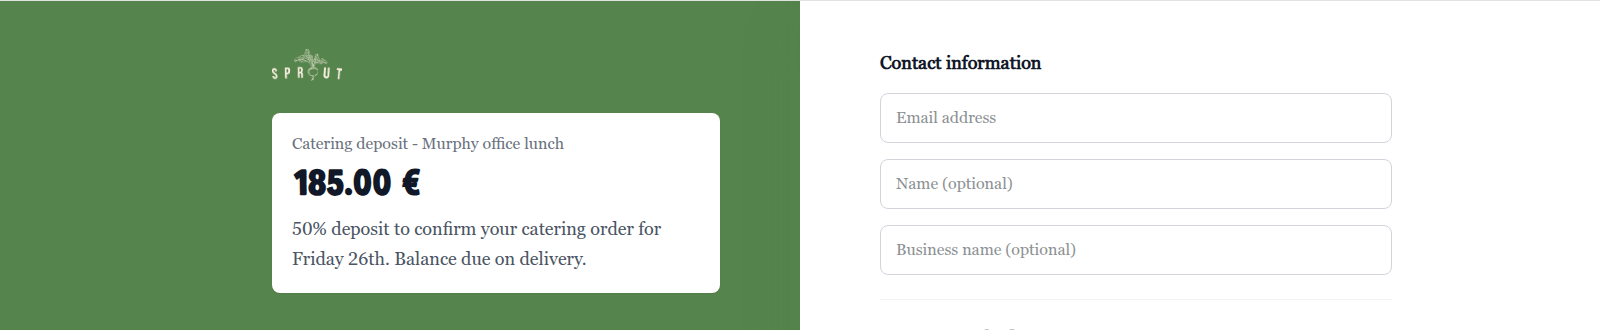
A set-price, one-off link on desktop, with Email required and Name and Business name optional (example data)
1. The amount
- Set price links show the amount. There is nothing to enter.
- Customer chooses links show Enter amount with the currency symbol. If you set a Minimum, it is shown as the field’s placeholder; amounts outside the Minimum and Maximum are rejected when the customer tries to continue. Payment methods do not load until an amount is entered — the page reads Enter an amount to continue.
2. Contact information
Shown only when at least one customer field is Optional or Required. The heading is Contact information, with Name, Business name, Email address and Phone number as configured. Optional fields are marked optional; a required field left blank shows This field is required and blocks payment.3. Payment method
Under Payment method, the customer chooses from the methods enabled on your store — card, Apple Pay and Google Pay where available — and pays. Card details are collected on the page; some cards send the customer through their bank’s verification step and back.After Paying
What happens next depends on the link’s After successful payment setting:- Show thank you (default) — the page shows Payment successful with Thank you for your payment. (or your Custom thank you message) and Amount paid.
- Redirect to URL — the customer is sent straight to your Redirect URL after payment, for example a booking confirmation page.
payments@storekit.com if none is set).
When the Link Cannot Be Used
If a card is declined, the page reads Your payment was declined. Please try another payment method. and the customer can try again or pick another method. Only successful payments count towards the link’s Payments total.
Previewing Before You Share
The New Payment Link page shows a live preview of the checkout page on the right as you fill in the form; use the desktop and phone icons above it to switch layouts.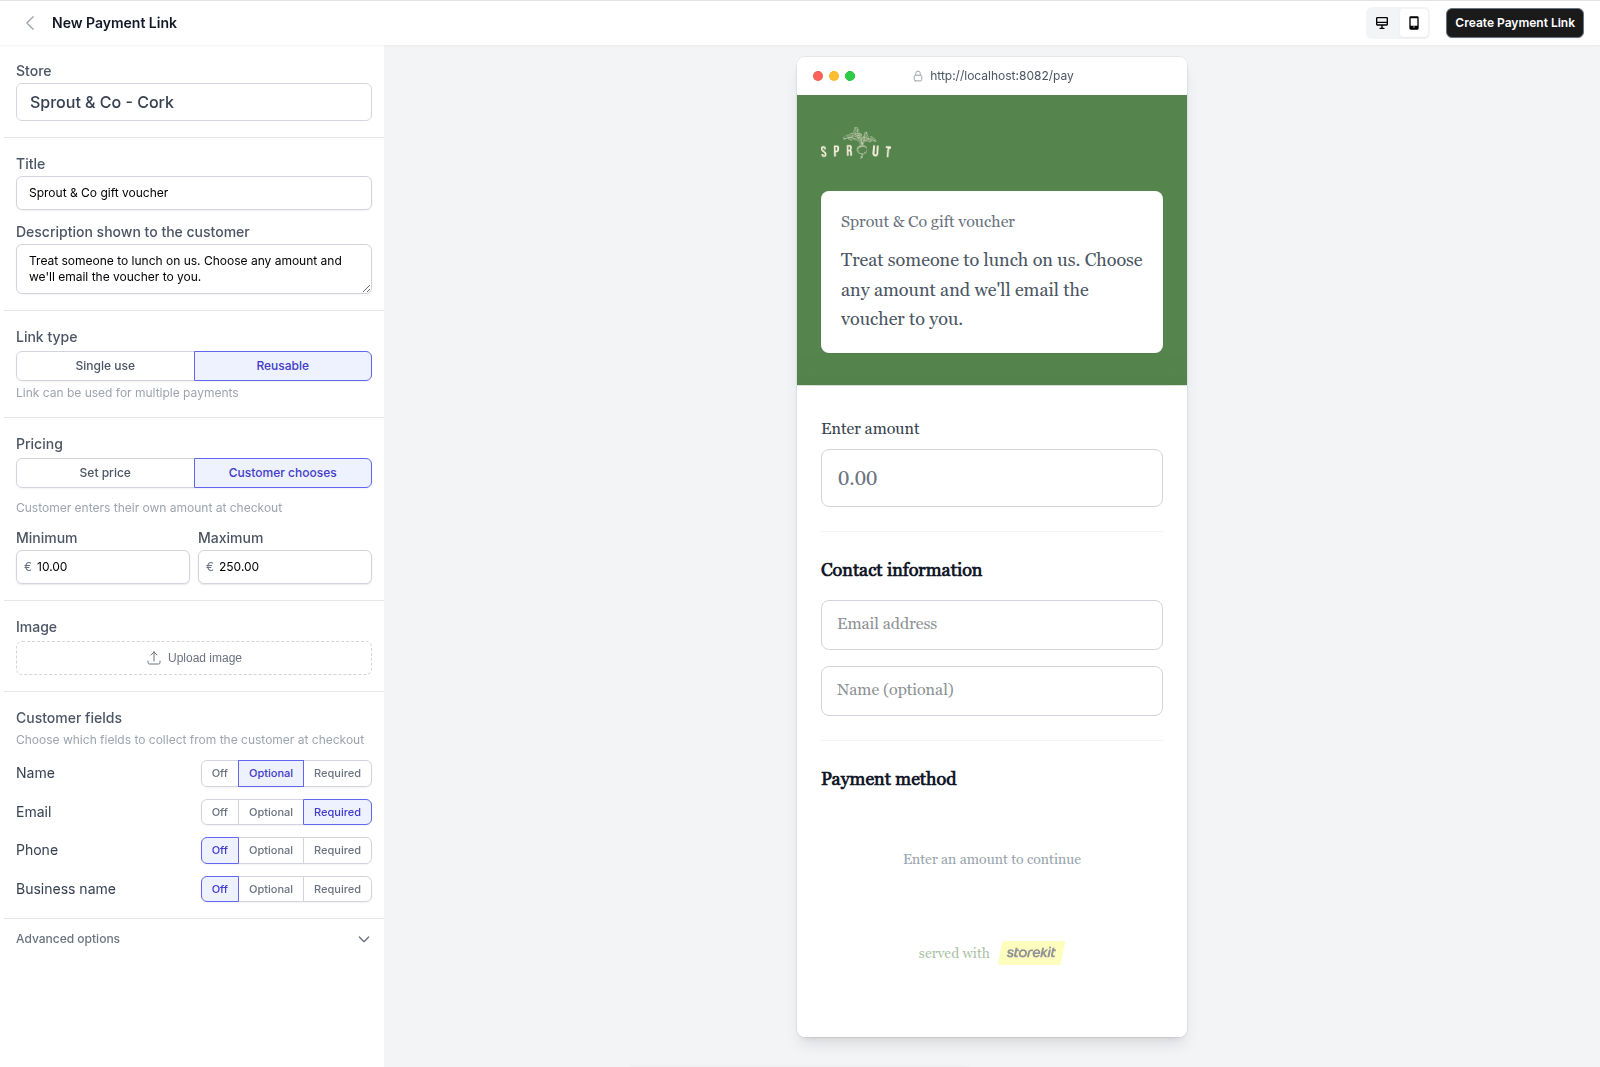
The phone preview of a reusable, customer-chooses link with a Minimum and Maximum set (example data)
Related Guides
Creating a Payment Link
Where each of these fields is set.
Managing Payment Links
Statuses and what closes a link.